
Deck the halls
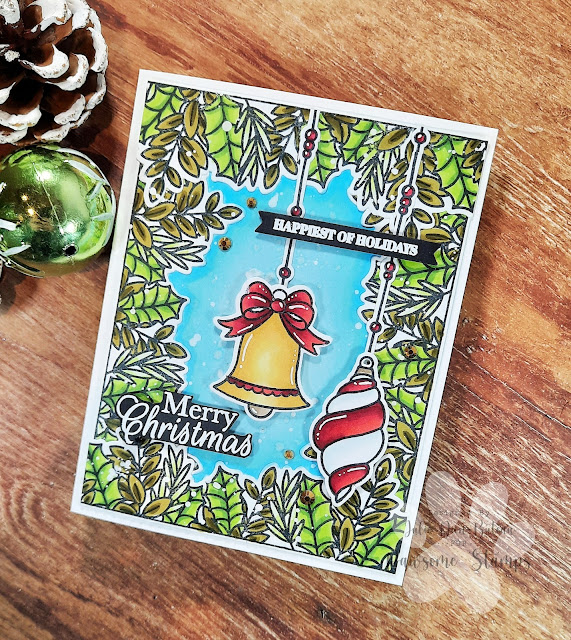
Hi guys, Julie here today with another card project. This time, I used the Deck the halls stamp set . The first time I saw this stamp set, I fell in love with the greenery. For this project, I wanted to make a border with this stamp, so that the bell would be the start of the card. This was a quick and easy project for a last minute Christmas card (yes, I am not done with them, even though Christmas is almost here).
 |
- For the greens: YG97, YG95, G20, YG03, YG25 and YG67
- For the bell: Y26, Y21 and Y11
- For the reds: R89, R46, R24
- For the blue: BG10, BG00, B12
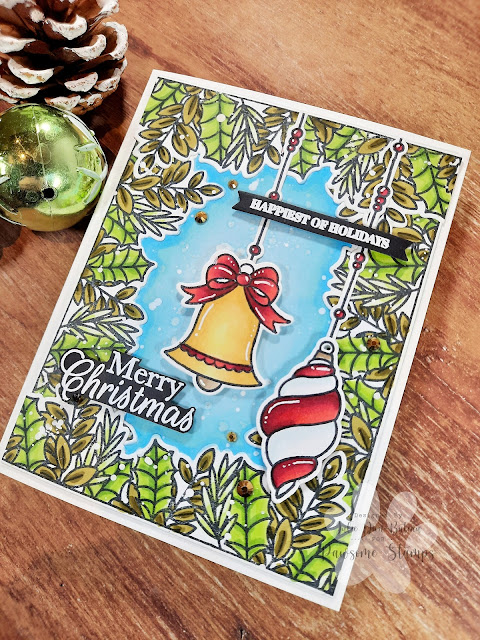
After the coloring was done, I die cut all the images with the coordinating dies. For the background panel, I used a nesting rectangle die to cut a white cardstock at the right size. After that, I inked the middle of the panel with tumbled glass and salty ocean distress ink. Then, I glued all the greenery on the side of my panel. I absolutely love how it turned out. To add more depth, I used copics on the end of the greenery to make it appear on top of it and to add shadows. After that, I used picket fence distress spray stain to add splatters on my background.
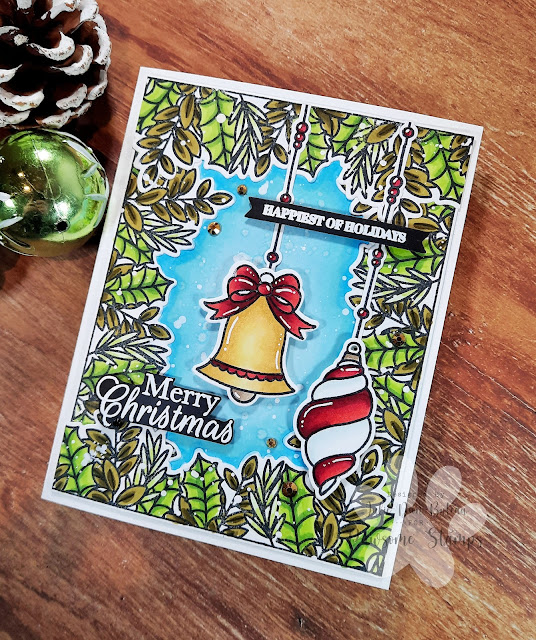
After that, I added foam tape on the ornaments and glue them on the background. I did the same with the sentiments, that are from the special delivery stamp set. I white embossed them on a black cardstock. I absolutely love these sentiments and the calligraphy of them. To finish my card, I added some embellishments and some white lines with my gelly roll pen. I love how this card turned out, and how easy it was to make for a fast last minute Christmas card.
I really hope you liked my project today, thank you for stopping by and have an awesome day!


Comments
Post a Comment