
Under the Sea with Britney
Hey everyone, Britney here! I am so excited to be on the Pawsome Stamps blog today featuring a set from Pawsome’s first release, Under the Sea. I hope everyone is surviving the first week of January and getting back to routines.
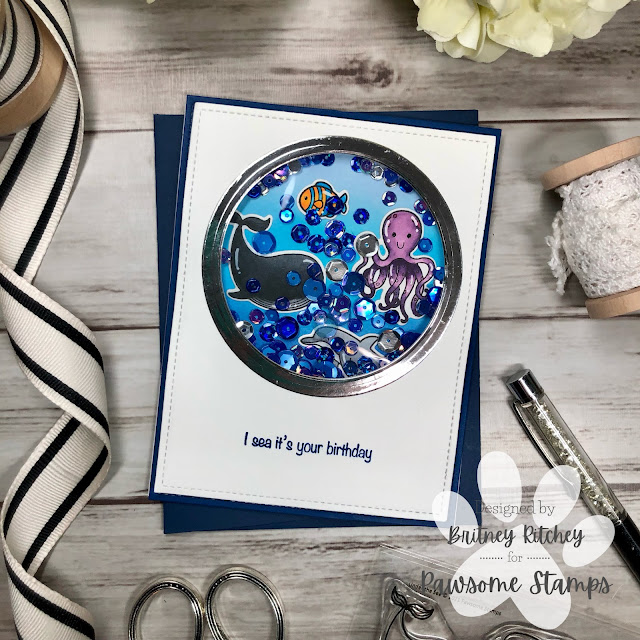
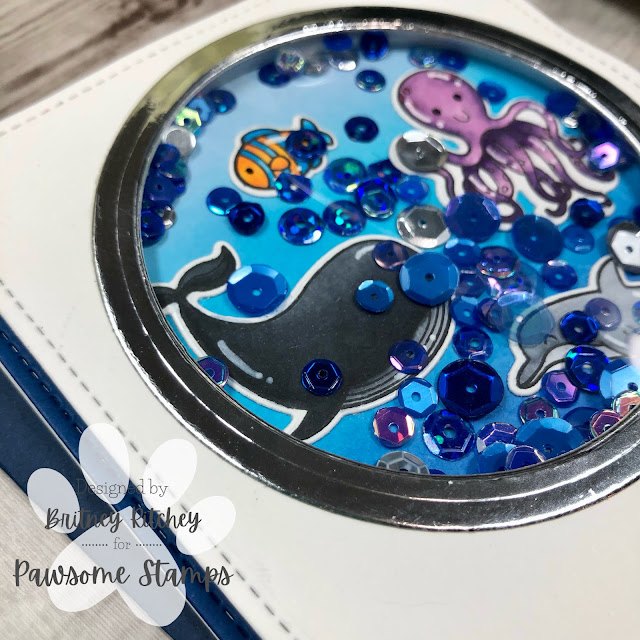
I always like to start with my background first and I build up from there. I cut a piece of dark blue cardstock using a stitched rectangle die the size of an A2 card. I used a smaller stitched rectangle and circle die for the white panel. I really like to add stitching wherever I can on cards. I feel like it just makes the card looked finished. I used the same circle die I used to cut my panel and the size larger to cut silver cardstock. I wanted to give it the look of a porthole. Imagine you’re inside the submarine looking out on all the sea life. I blended a smaller scrap piece of cardstock with three different blue inks to give it a nice gradient. I sat all this to the side while I worked on my images and the inside of my card.
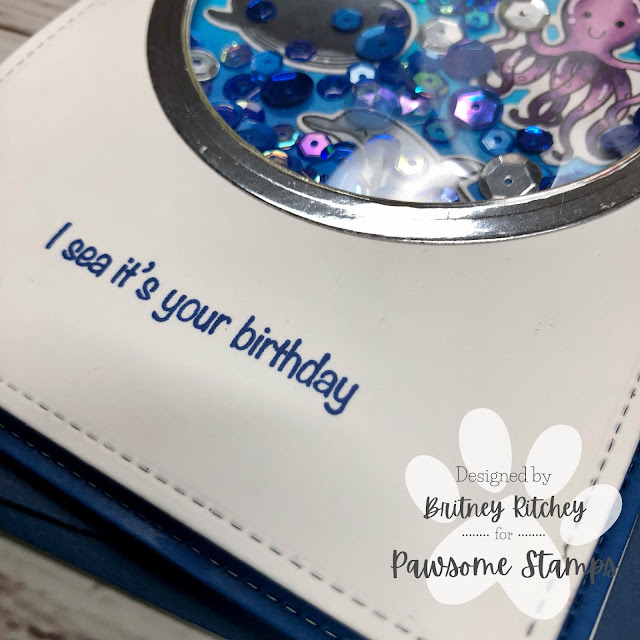
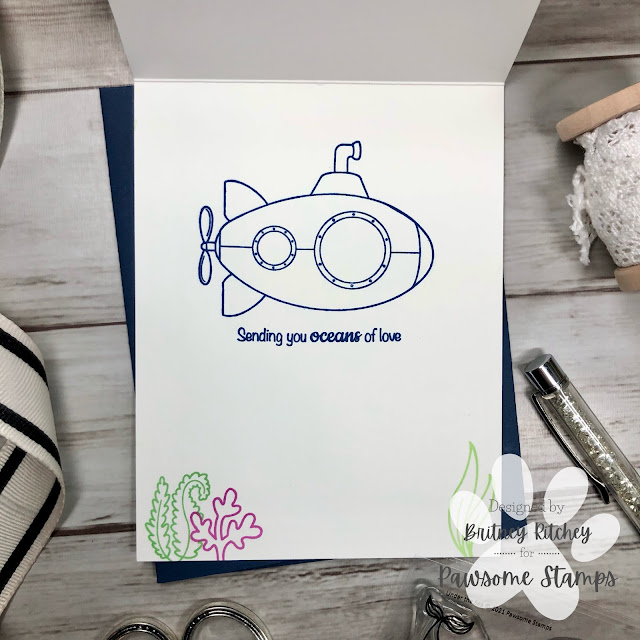
Stamping an image and sentiment on the inside finishes the card off nicely. It is easier to stamp an image and/or sentiment on the inside of the card before adhering the card panel to the base. The bulk of the foam tape can make it difficult to get a good impression using a Misti Stamping tool. I stamped the inside of the card using images and sentiment from the Under the Sea stamp set. I also stamped the sentiment on my top panel before adding foam tape as well. I had to stamp it a couple of times to get a good impression.
I used the Misti Stamping Tool and a Copic-friendly ink to stamp images onto a piece of Neenah Classic Crest Solar White Cardstock. Use your favorite color medium to color in the images. I prefer Copics usually. You can fussy cut the images or use the coordinating dies. I finished off my images using a black glaze pen for the eyes and a white gel pen to add some accents. I laid out my images to get perfect placement and glued them directly onto the blue panel I ink blended.
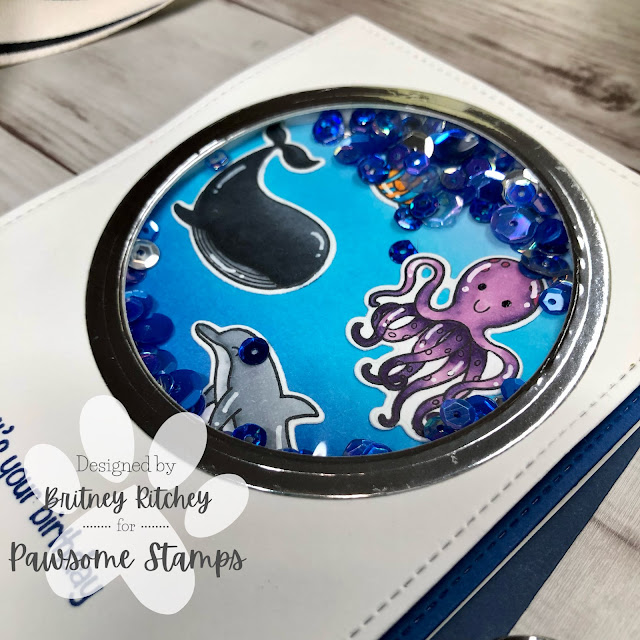
I used a strong liquid adhesive to glue my blue panel to the card base. I also like to place it under two of my Mistis to help it lie nice and flat. Since I was making this into a shaker card, I did two layers of foam tape after adhering my acetate over the circle. I used the perfectly named, Blue Lagoon sequin mix to fill my shaker.
I hope you enjoyed this card as much as I enjoyed making it. Have a wonderful day and make sure to check out all the goodies in the Pawsome Stamps shop.


Comments
Post a Comment