
You're my bam-BOO with these Playful Pandas
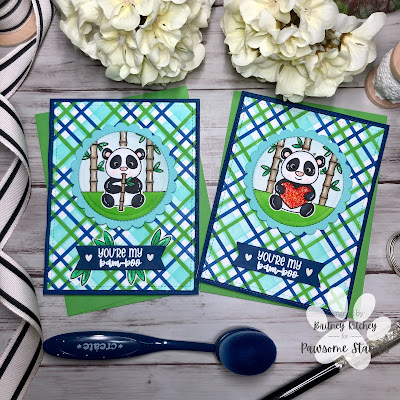
I always like to start with my background first and I build up from there. I cut a piece of dark blue cardstock using a stitched rectangle die the size of an A2 card. I used a smaller stitched rectangle die for the plaid panel. I really like to add stitching wherever I can on cards. I feel like it just makes the card looked finished. I used a plaid builder stencil to create the patterned paper. If you don’t have a plaid builder stencil, patterned paper would work just as well. I used a scalloped circle die to cut out color cardstock to match my plaid pattern. Lastly, I cut a plain white circle to build my mini scene.

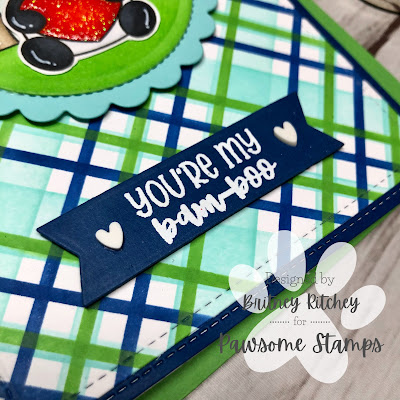
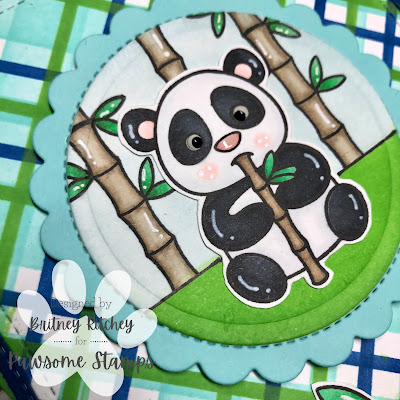
I built my scene using a bamboo stamp from the set. I cut a mask to extend the bamboo to make it fit my scene a little better and I inked on my sky and grass using blender brushes. I also added a line for the grass and it gave the whole scene a more stamped feel. I selected a cardstock which coordinated nicely with my background colors. I used embossing ink and white embossing powder to heat emboss the sentiment. I used a sentiment strip die, however, this sentiment could easily be cut using a paper trimmer or scissors.
I used the Misti Stamping Tool and a Copic-friendly ink to stamp images onto a piece of Neenah Classic Crest Solar White Cardstock. Use your favorite color medium to color in the images. I prefer Copics usually. You can fussy cut the images or use the coordinating dies. I finished off my images using a black glaze pen for the eyes and a white gel pen to add some accents. I laid out my images to get perfect placement and glued them directly onto the circle background. I placed all this to the side while I worked on my images and the inside of my card.
Stamping an image and sentiment on the inside finishes the card off nicely. It is easier to stamp an image and/or sentiment on the inside of the card before adhering the card panel to the base. The bulk of the foam tape can make it difficult to get a good impression using a Misti Stamping tool. I stamped the inside of the card using images from Playful Pandas and sentiments from other sets in this release.


I used a strong liquid adhesive to glue my panels to the card base. I also like to place it under two of my Mistis to help it lie nice and flat. I popped my circles and sentiment strip with foam tape. As my very last step, I used some glossy accents on the eyes and nose and Nuvo Drops in White Blizzard for the heart. If I don't do it as the very last step, I end up putting my hand in it and smearing it across my card front.

I hope you enjoyed this card as much as I enjoyed making it. Have a wonderful day and make sure to check out all the goodies in the Pawsome Stamps shop.


Very well written article. It was an awesome article to read. Read more info about pens with company logo. Complete rich content and fully informative. I totally Loved it.
ReplyDelete