Hey everyone, Britney here! I am so excited to be on the Pawsome Stamps blog today featuring the Happy Haunting stamp set from this most recent Spooktacular Release. I absolutely love this release. There are so many card possibilities. This card came together so quickly but has so many details.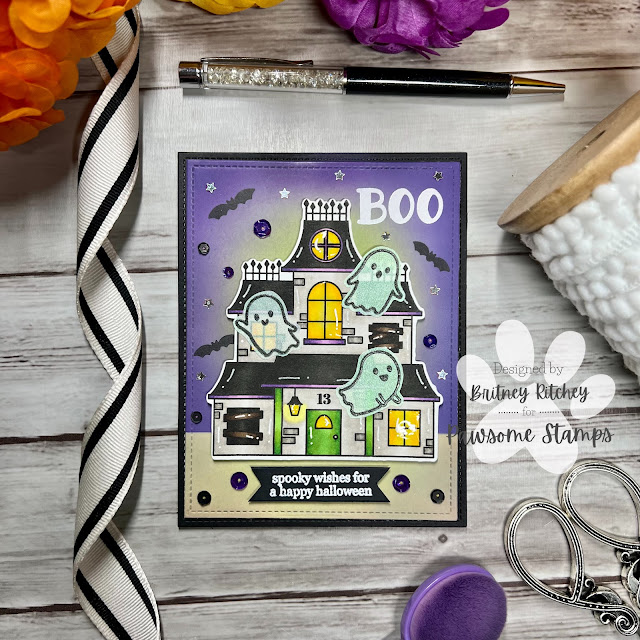
I always like to start with my background first and I build up from there. I used a stitched rectangle die to cut the background panel out of white cardstock a little smaller than A2 size and another of black cardstock which is A2 size. I inked on some distress oxide inks (Twisted Citron, Wilted Violet, and Villainous Potion). I wanted it to look kind of like a spooky moon. I masked of the bottom for the ground. I inked it up using Antique Linen and a little Tea Dye distress oxide inks around the edge. I wish I had splattered the background, however, I got distracted and forgot. It’s fine. I will share how I got around this. I used some liquid glue to adhere my background panel to the card base. I like to put the base under a couple of my Misti’s to help it lie flat.
I used the Misti Stamping Tool and a Copic-friendly ink to stamp images onto a piece of Neenah Classic Crest Solar White Cardstock. Use your favorite color medium to color in the images. I prefer Copics usually. You can fussy cut the images or use the coordinating dies.
Stamping an image and sentiment on the inside finishes the card off nicely. It is easier to stamp an image and/or sentiment on the inside of the card before adhering the card panel to the base. The bulk of the foam tape can make it difficult to get a good impression using a Misti Stamping tool. I stamped the inside of the card with images and sentiments from the Happy Haunting stamp set.
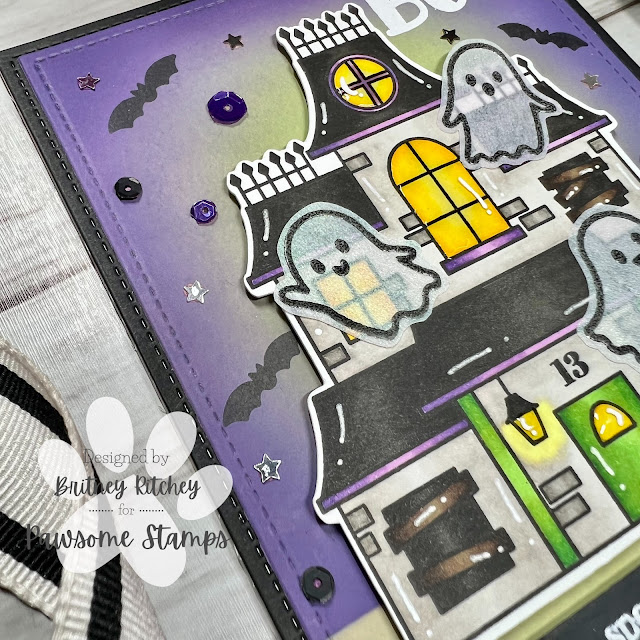
Once the background panel was completely dry, I white heat embossed “Boo” and a few of the bats from the set. On iridescent vellum, I stamped some of the ghosts from the set and coated those with Glow-in-the-Dark embossing powder. Then I ran them through my sticker maker to make it a little easier to adhere them.
I laid out my images to get perfect placement and popped them up using foam tape. I finished off my images using white gel pen to add some accents. As a final finishing touch, I added Glossy Accents to the glass of the lantern and windows. Once it is dry, I went back in and added white gel pen. I used some of the Witches Brew sequin mix to take the place of splatter.
I hope you enjoyed today's card. Have a wonderful day and make sure to check out all the goodies in the Pawsome Stamps shop.


Comments
Post a Comment