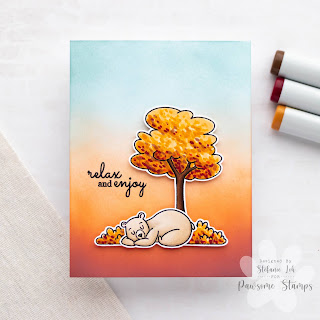
Oh Baby!!!
Hey everyone, Britney here! I am so excited to be on the Pawsome Stamps blog today featuring some items from the Spring Baby release. This card could easily be massed produced for all the upcoming baby showers or just to have in your stash.
I always like to start with my background first and I build up from there. I cut some background panels with stitched rectangle dies. I did some light ink blending on the white panels. I blended the same color ink with a heavier hand over the Sweet Hearts Background stencil. I stamped a sentiment from the Oh Baby stamp set before I popped my images on with foam tape.
I used the Misti Stamping Tool and a Copic-friendly ink to stamp images onto a piece of smooth, white cardstock. My images were from the Oh Baby stamp set. Use your favorite color medium to color in the images. I prefer Copics usually. You can fussy cut the images or use the coordinating dies.
Stamping an image and sentiment on the inside finishes the card off nicely. It is easier to stamp an image and/or sentiment on the inside of the card before adhering the card panel to the base. The bulk of the foam tape can make it difficult to get a good impression using a Misti Stamping tool. I stamped the inside of the card with images and sentiments from the Oh Baby set.
I laid out my images to get perfect placement and popped the images up using foam tape. I finished off my images using white gel pen, a black glaze pen for the eyes and nose of the bears, and aqua shimmer pen to add some accents on the bows. Lastly, I used some clay hearts for some final accents. I love adding a lot of final details to a card to give it a little something extra. I do this at the VERY END so I won’t smudge anything.
I hope you enjoyed today's card. Have a wonderful day and make sure to check out all the goodies in the Pawsome Stamps shop.


Comments
Post a Comment